That time of year is fast approaching: outdoor shows, early lobby calls and festival shows with multiple acts and no sound checks. Ugh. In a perfect world, we’d carry our favorite production package to every show, but the real world doesn’t always allow that. Since you might be mixing on a console that’s your second or third preference, it makes sense to tweak your console files to make them as easy to use as possible. Here are some ways to tighten up your files and reduce the stress of “grab it and growl” situations.
Lock Down the Stage (Plot)
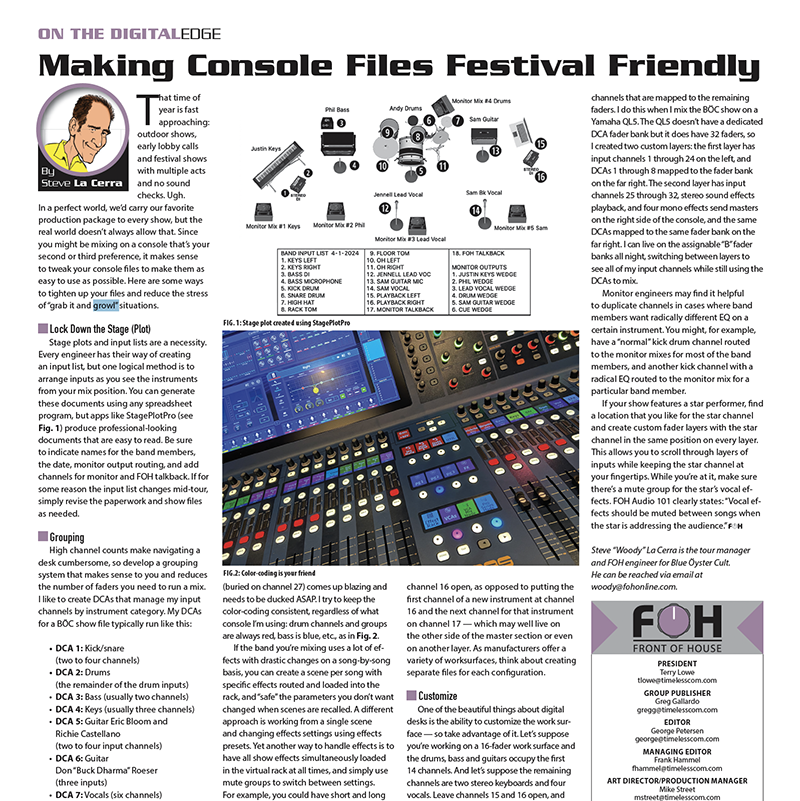
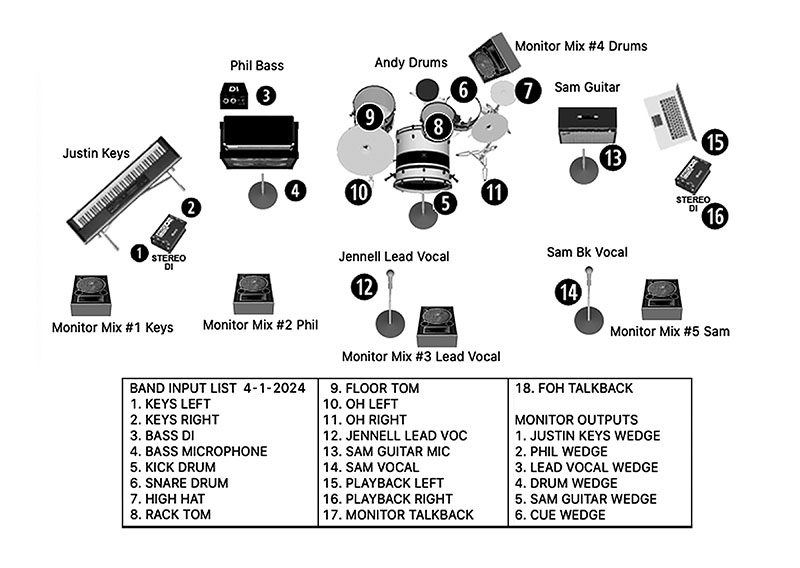
Stage plots and input lists are a necessity. Every engineer has their way of creating an input list, but one logical method is to arrange inputs as you see the instruments from your mix position. You can generate these documents using any spreadsheet program, but apps like StagePlotPro (see Fig. 1) produce professional-looking documents that are easy to read. Be sure to indicate names for the band members, the date, monitor output routing, and add channels for monitor and FOH talkback. If for some reason the input list changes mid-tour, simply revise the paperwork and show files as needed.
Grouping
High channel counts make navigating a desk cumbersome, so develop a grouping system that makes sense to you and reduces the number of faders you need to run a mix. I like to create DCAs that manage my input channels by instrument category. My DCAs for a BÖC show file typically run like this:
- DCA 1: Kick/snare (two to four channels)
- DCA 2: Drums (the remainder of the drum inputs)
- DCA 3: Bass (usually two channels)
- DCA 4: Keys (usually three channels)
- DCA 5: Guitar Eric Bloom and Richie Castellano (two to four input channels)
- DCA 6: Guitar Don “Buck Dharma” Roeser (three inputs)
- DCA 7: Vocals (six channels)
- DCA 8: Effects
This arrangement lets me do a fair amount of mixing using the DCAs instead of the input channels (more on that later). Once I’ve got the drum inputs dialed in at sound check, I can mix them via DCAs 1 and 2 for most of the night, returning to the input channels only a few times during the night to open a gate on the snare mic for a quiet section of a song, or maybe change a reverb send. I typically color code the DCAs, matching the color of the channels to their respective DCA. I find this helpful when I’m looking through multiple fader layers for something in a hurry.
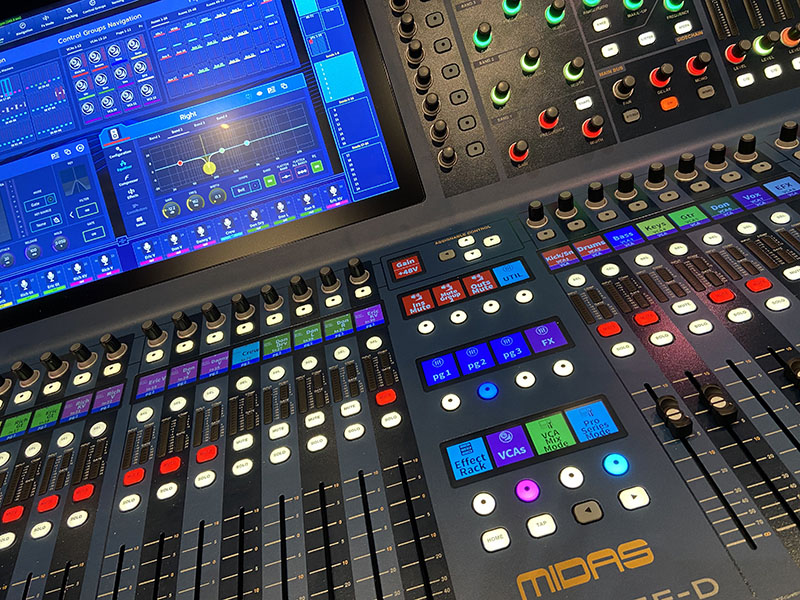
You can also organize instrument groups by band member, which can be very efficient in the heat of battle when someone’s lead guitar (buried on channel 27) comes up blazing and needs to be ducked ASAP. I try to keep the color-coding consistent, regardless of what console I’m using: drum channels and groups are always red, bass is blue, etc., as in Fig. 2.
If the band you’re mixing uses a lot of effects with drastic changes on a song-by-song basis, you can create a scene per song with specific effects routed and loaded into the rack, and “safe” the parameters you don’t want changed when scenes are recalled. A different approach is working from a single scene and changing effects settings using effects presets. Yet another way to handle effects is to have all show effects simultaneously loaded in the virtual rack at all times, and simply use mute groups to switch between settings. For example, you could have short and long reverbs loaded for the drums, set up aux 1 for the short verb, aux 2 for the long verb, and then create mute groups that route the drum channels to either (or neither) of those sends when needed. Most consoles provide dedicated buttons for mute groups (or provide a bank of user-programmable keys), which may be faster than accessing the effects rack and recalling a different preset. Don’t forget to set up a mute group for “all dry.”
Don’t Be Afraid to Skip
Especially in situations where you won’t be touring with consoles, think carefully about the physical “split points” of a desk as they relate to your input list. Let’s suppose you have 15 channels of drums. If a particular console is divided into fader banks with eight faders, it may make sense to leave channel 16 open, as opposed to putting the first channel of a new instrument at channel 16 and the next channel for that instrument on channel 17 — which may well live on the other side of the master section or even on another layer. As manufacturers offer a variety of worksurfaces, think about creating separate files for each configuration.
Customize
One of the beautiful things about digital desks is the ability to customize the work surface — so take advantage of it. Let’s suppose you’re working on a 16-fader work surface and the drums, bass and guitars occupy the first 14 channels. And let’s suppose the remaining channels are two stereo keyboards and four vocals. Leave channels 15 and 16 open, and start the next layer with the vocals. Or with the keyboards. Or create one custom layer with the keys and another with the vocals. You get the idea. While you’re at it, create a “utility” layer for walk-in music, talkback, emcee, playback, etc.
Be Flexible
Don’t get locked into the idea that you must mix via the input channels. Arrange the desk so you can also mix from the DCAs. Using the example above, I could mix an entire show on the eight DCA faders (though I would lose the ability to do stuff like add a delay to a synth solo). Maybe your show can be simplified down to six or eight DCA faders and eight to ten critical input channels that you need to access at all times. Another option is to create several custom layers where the DCAs are always in the same fader bank, and then vary the input channels that are mapped to the remaining faders. I do this when I mix the BÖC show on a Yamaha QL5. The QL5 doesn’t have a dedicated DCA fader bank but it does have 32 faders, so I created two custom layers: the first layer has input channels 1 through 24 on the left, and DCAs 1 through 8 mapped to the fader bank on the far right. The second layer has input channels 25 through 32, stereo sound effects playback, and four mono effects send masters on the right side of the console, and the same DCAs mapped to the same fader bank on the far right. I can live on the assignable “B” fader banks all night, switching between layers to see all of my input channels while still using the DCAs to mix.
Monitor engineers may find it helpful to duplicate channels in cases where band members want radically different EQ on a certain instrument. You might, for example, have a “normal” kick drum channel routed to the monitor mixes for most of the band members, and another kick channel with a radical EQ routed to the monitor mix for a particular band member.
If your show features a star performer, find a location that you like for the star channel and create custom fader layers with the star channel in the same position on every layer. This allows you to scroll through layers of inputs while keeping the star channel at your fingertips. While you’re at it, make sure there’s a mute group for the star’s vocal effects. FOH Audio 101 clearly states: “Vocal effects should be muted between songs when the star is addressing the audience.”
Steve “Woody” La Cerra is the tour manager and FOH engineer for Blue Öyster Cult.
